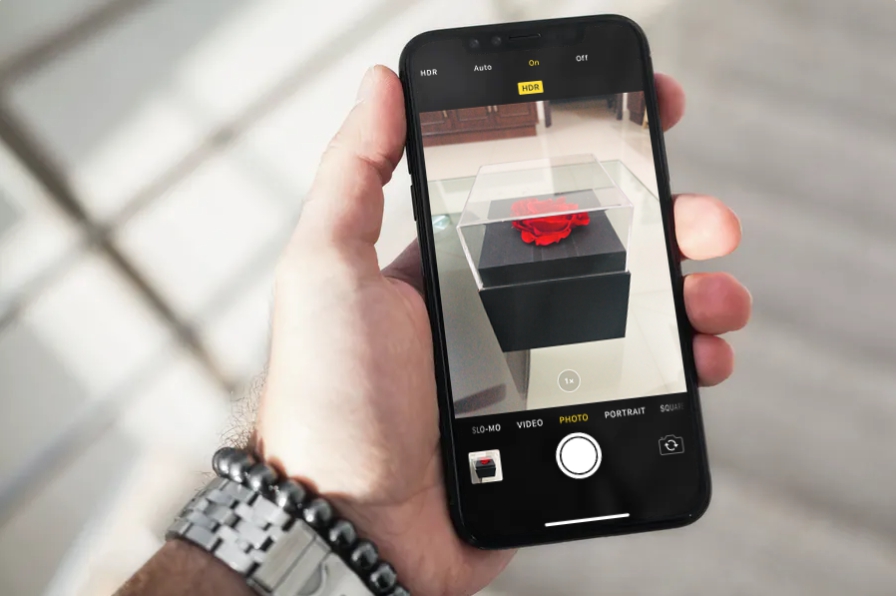
iPhone can provide HDR photos, an HDR photo produces better color and light, which eventually improves image quality. Your iPhone automatically takes HDR photos when needed, but not for every photo. There are those who want a manual iPhone HDR option every time you take a photo, not as an automatic feature. This is possible with a quick solution, keep reading.
For those who want to have a little more control over the iPhone’s camera, or have manual controls with an HDR option, you can disable the HDR setting on the camera to force the HDR option for all photos and disable the camera.
Turn On Manual HDR Mode In Camera On iPhone / iPad When you
use the Camera app normally, you will see any option to change the photo mode to HDR, an option to turn it on or off. But there is a way to do it, here is exactly what you need to do to turn on the manual HDR option on your iPhone or iPad.
On your iPhone or iPad, go to Settings and scroll down to see the Camera settings. Tap on it.
Once in the camera settings, go to the HDR section and turn off the Auto HDR option and set the Keep Normal Photo option enabled. This allows you to compare HDR photo with normal photo so you can better understand how useful HDR is for photography.
Now, launch the camera app on your iPhone or iPad and you’ll see an HDR option at the top. When you tap on the HDR option, you will see that the Camera app is still set to automatically activate the HDR feature, let’s change it manually.
Tap On under HDR to manually enable the HDR option and take photos as you normally would, take a normal photo in photo mode.
What happens here is that when you take a photo in HDR, the camera stores a copy of the regular photo, so you can compare it to the HDR photo. When you view it in the default Photos app, you will notice that the photo taken in HDR will have the HDR icon. Since you have the “Keep Normal Photo” option enabled in the camera settings, you can swipe right to view the same picture without HDR.
