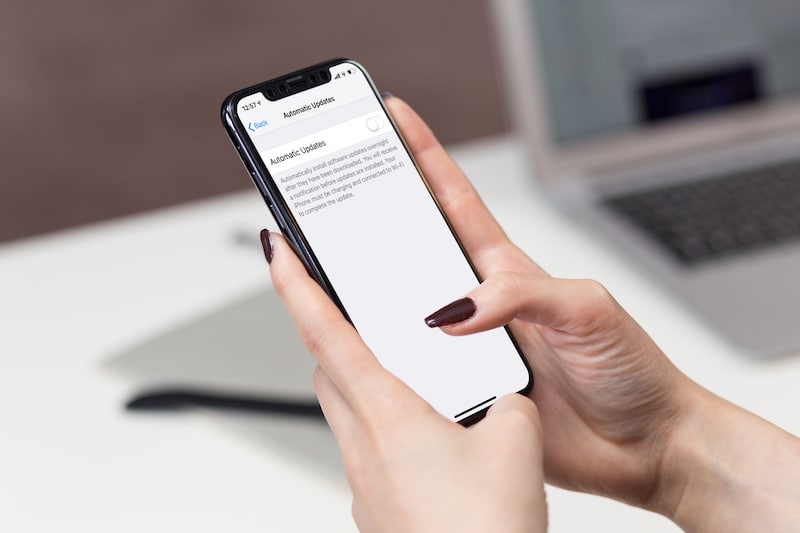
With iOS 12 and later, Apple introduced the feature that allows iPhone automatic update installation. This is a good step, providing timely bug fixes and thus a smoother user experience.
Updates help iPhone come with occasional vulnerability fixes and security patches. All this means users don’t need to download and install updates manually. However, for some, automatic installation of updates may not be a good move, especially if you are on a limited data plan. Also, mandatory auto-update can reduce your phone’s battery life, which can be a problem for a longer day. However, there are options that allow the user to disable the iPhone automatic update feature for system updates and app updates for both types of updates. In this article, we will cover both issues.
Disabling Automatic Updates for iOS
Step 1: Open the Settings app on your iPhone
Step 2: Scroll down on the Settings page and tap on “General”
Step 3: Now tap on “Software Update”
Step 4: On the next screen Select the “Automatic Updates” option
Step 5: You will now see a toggle button. Just turn it off.
Automatic update installation for the system has been turned off. If you want to enable it again, just follow the same steps and turn on the button; updates continue to be installed automatically.
Disabling Automatic App Updates on iPhone
Step 1: Open the Settings app on your iPhone
Step 2: Now scroll down and select “iTunes & App”
Step 3: In the Automatic Downloads section, turn off the “App Updates” switch.
You also have the option to disable automatic app installation based on the size of the update. For that, in the “Mobile Data” section, tap on App Downloads and you can choose from three options – Always Allow, Ask If More Than 200 MB, and Always Ask. So, this is how you disable the automatic installation of the system software and iPhone automatic update.
