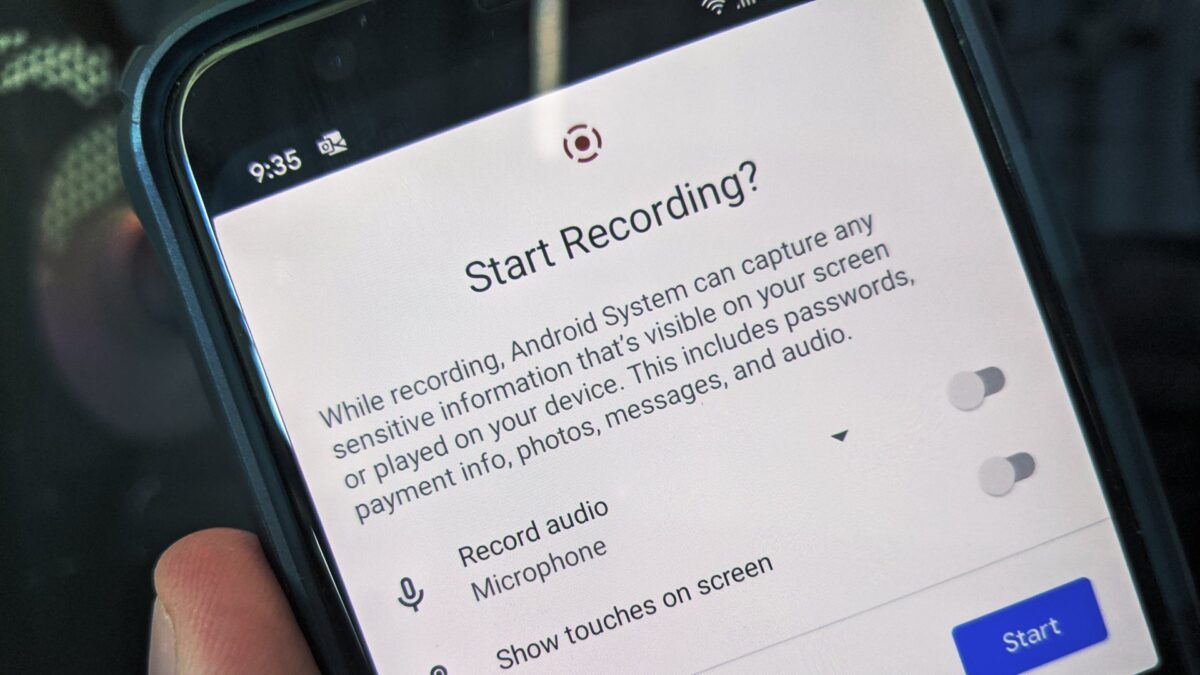
Google has added a few new features to the Android 11 update that make the mobile operating system more powerful and useful. One of the newly introduced features is Screen Recorder. As the name suggests, the feature is a great way to record video for technical tips, troubleshooting and more, allowing the user to record a video of everything they do on the phone. If you have Andriod 11 installed on your smartphone, but you are not sure how to use the Screen Recorder feature, we will guide you step-by-step for that.
How to Use Screen Recorder on Android 11?
Step 1: On your Android 11 smartphone, scroll down the notification panel and tap the Screen Recorder icon from Quick Settings.
Step 2: Now, on the Screen Recorder screen, turn on the options if you want to enable audio recording and show your touches on the screen.
Step 3: After setting your preferences, tap the Start button. Now screen recording will start.
Step 4: After the screen recording is complete, swipe down the notification panel again and tap the red banner to stop the recording.
How to View Recorded Screen Recordings?
You can record your screen as often or as little as you want, but it’s not that useful if you don’t know how to access these recordings. Fortunately, it’s as easy as jumping to Google Photos.
Open the Google Photos app on your phone.
Tap Library in the bottom navigation bar.
Tap Movies.
This much. This is how you can start screen recording on your Android 11 supported smartphone. While recording is in progress, you will see a small red icon in the upper right corner of your smartphone’s screen, indicating that the recording is live.
