After Effects is an incredibly deep and scary program, especially for beginners. Every time you open After Effects, you will probably learn something new and useful. We will pass on the After Effects tips and tricks to you.
It’s
no secret that Fast Scrolling Keyboard shortcuts can save you tons of time in any post production software, but the one keyboard shortcut that saved me the most in AE is the fast scrolling feature in After Effects.
Normally when you swipe After Effects, you have to select the hand tool by clicking the hand icon or pressing the (H) key. However, instead of toggling between the two tools, you can call the hand tool by holding down the space bar. As soon as you release the spacebar, After Effects will return to the tool you selected at that time. You can no longer use the handpiece alone using this quick tip.
RAM Preview
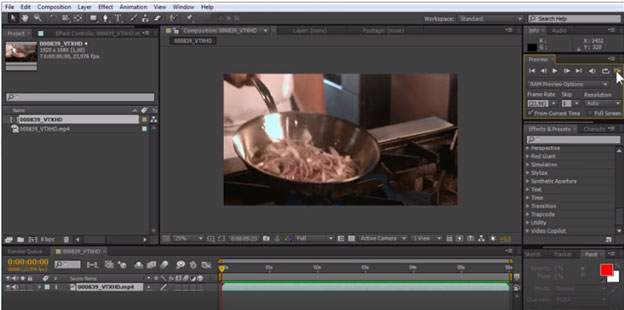
If you are used to working with video editing software, you will probably preview your video by pressing the spacebar. However, After Effects is not that simple. You cannot play video in After Effects without creating a preview file, due to forcing the video effects on your computer. This process is known as RAM preview. To start the RAM preview, all you have to do is press control + 0 on your computer or select the RAM preview button on the far right of the preview panel. You can preview the audio using the RAM preview in After Effects.
Duplicating Layers
There is no faster way to create layers in After Effects than to copy an already existing layer. To duplicate a layer, all you have to do is press Command + D. This technique works on both layers and effects.
Render Quality
After Effects, rendering can take a lot of time, especially if you have a lot of effects on multiple layers. One thing you can do to significantly reduce your preview time is to choose your render quality. To access the rendering quality, simply select the drop-down menu under your composition panel. By default it is set to Full, but you can leave it at half, third, quarter, or custom if you want to save time. When you’re ready to export your project, don’t worry. Regardless of your preview quality, your exports are set to full by default.
Exporting Alpha Channels If you are exporting
graphics or assets for use in any post production software, you want your video clips to have alpha channels. As you probably know, a pixel consists of three channels: Red, Green, and Blue. However, there is another channel in After Effects that is only concerned with transparency. These layers are called alpha channels, as you might guess. By default, alpha channels are not included in your videos. To complicate things, not all codec components allow you to export alpha channels.
