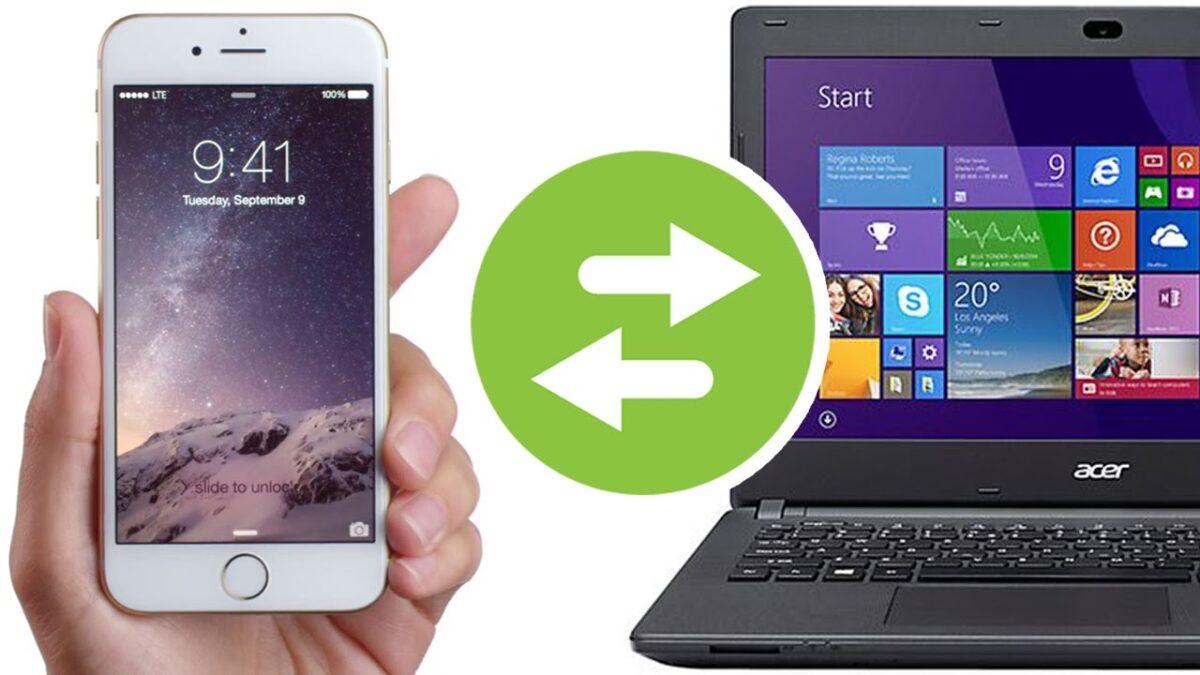
If you are a long-time iPhone user, you may be aware that transferring files to an iPhone is a difficult task. However, this is not the case when it comes to photos, and there are several methods you can use to transfer photos from an iPhone to a PC. In this article, we’ll show you step-by-step instructions on how to do the same, so let’s get started. at work
Methods to transfer iPhone photos to PC;
Using the Charging Cable
Transferring iPhone Photos to PC is the first method easy and doesn’t require you to install any third-party software. All you need is a cable that you use to charge your iPhone and you’re ready to go. All you need to do to transfer photos using your charging cable is;
Step 1: Unlock your iPhone and connect it to your PC using the cable.
Step 2: When your iPhone is connected, you will receive a pop-up notification asking for Storage access permissions. Click “Allow” and continue.
Step 3: Open “This PC” or “Computer” and double-click on your iPhone to access internal storage.
Step 4: In your iPhone’s internal storage, double click DCIM and you will see some subfolders mostly named “100APPLE”, “101APPLE”. These are folders that simply copy your images to any location on your system and you’re done.
Uploading to a Cloud Storage or Using a Third-Party Software
If you do not have a charging cable and still want to transfer your photos to your PC, this method will come in handy. Third-party apps like Xеnder and ShareIt have made this easy to do. To transfer photos using a third-party software, all you need to do is;
Step 1: Open App Store on your iPhone and download a file transfer app.
Step 2: Make sure the installed application comes with a “Connect to PC” feature. Mostly every app that offers this has its own website that comes with a special QR code.
Step 3: Follow the on-screen instructions and visit the app website to scan the QR code if it’s software like Xеnderder.
Step 4: Once connected, all your photos will be on your laptop and you can download them.
In addition, Cloud Storage services such as Google Drive and Microsoft One Drive can also help you transfer photos to your computer. All you need to do to transfer photos using Google Drive;
Step 1: Install Google Drive on your iPhone and login with your Google Account.
Step 2: Press the “+” button in the lower right corner and tap the “Install” option.
Step 3: Tap “Photos and Videos” and upload your media files to Google Drive.
Step 4: Open Google Drive on your computer, log in with the same account and you can download the photos and videos you have uploaded from your iPhone.
