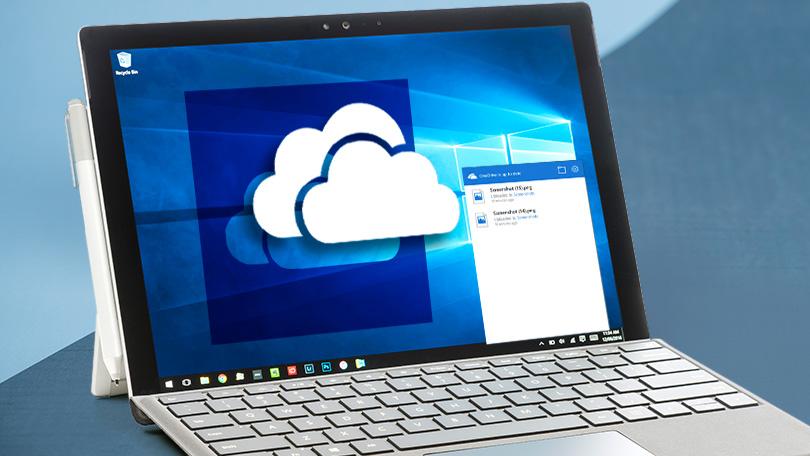
Microsoft’s Windows 10 operating system comes with a built-in OneDrive account integration that allows users to sync their data with the cloud storage platform.
In this article, we will show you a step-by-step process on how you can easily use two OneDrive accounts to sync your computer’s data to Windows 10.
Using Two OneDrivе Accounts in Windows 10
Step 1: Open a browser on your computer and log into your secondary OneDrive account that you want to use.
Step 2: Now, create a new folder in this account. For the purpose of this guide, we will look for the “Shared Account” folder.
Step 3: To access the existing data of the OneDrivе account on your device, you need to move all the content to the newly created “Shared Account” folder.
Step 4: After moving all the content, select the folder and click “Share”.
Step 5: In the Sharing option, enter the email of your primary OneDrive account.
Step 6: Log out of this account after sharing the folder. Now, sign back into OneDrive using your primary account and accept the shared folder.
Step 7: As soon as you accept the “Shared Account” folder, it will appear on your computer with the OneDrive folder logged in using the primary account. It can also be accessed from the Web version and applications.
You can now access all the contents of the second OneDrive account via the “Shared Account” folder and store new data in the account. You can continue to use the primary account on your computer as before, without making any changes.
You can also use two multiple OneDrive accounts on the same computer, but one of these accounts must be a business account, as Microsoft does not use two personal OneDrivе accounts on the same computer. We will publish another article covering this topic.
